 Because the recently passed Inflation Reduction Act includes tax credits for home efficiency upgrades, homeowners across the country are looking for energy-saving DIY projects to take advantage of the act, including bolstering their home’s temperature regulating capabilities with rigid foam insulation.
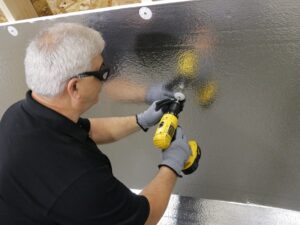
EPS insulation is easy-to-install and provides premium insulative performance. As a DIY insulation solution, it can help shore up most home energy drains from the attic to the basement and beyond. Although rigid EPS insulation can be cut to size and installed easily with common household tools, homeowners may not know how to use this material in the most effective way possible.
The following Q+A gives five expert tips on how homeowners can maximize the potential benefits of their DIY insulation projects.
Q. What R-value do I need?
R-value measures how well insulation stops the flow of heat into and out of a home. Materials with high R-values provide greater insulative capabilities than materials with low R-values. EPS insulation offers the highest R-value per dollar, making it an extremely cost-effective insulation material.
Recommended R-values vary by region. For instance, a home in Miami would need less insulation than one in Duluth. These values are the sum of all the materials between a home’s interior and exterior. If a home is not as comfortable as it should be, a homeowner can add EPS rigid foam insulation to an attic space, walls and more to see their R-value increase and their interior temperatures stabilize.
Q. Where should I start upgrading my insulation?
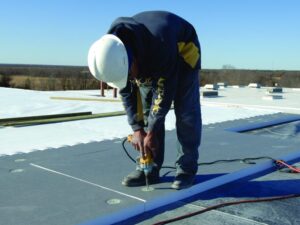
Homes should be insulated from the roof down. Attics are often cited as being one of the most notorious energy drains within a home. Likewise, garage doors can be the largest uninsulated area in a home and could contribute to increased heating costs in the winter.
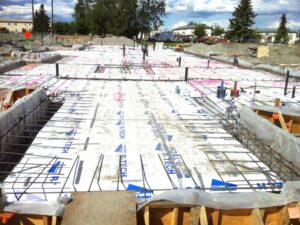
Fortunately, there are DIY insulation kits for attics and garage doors as well as rigid insulation panels that can be customized for most applications. This means that no matter where in the house homeowners start, there will be an EPS insulation product uniquely suited to their needs.
Q. How do I cut and install EPS insulation?
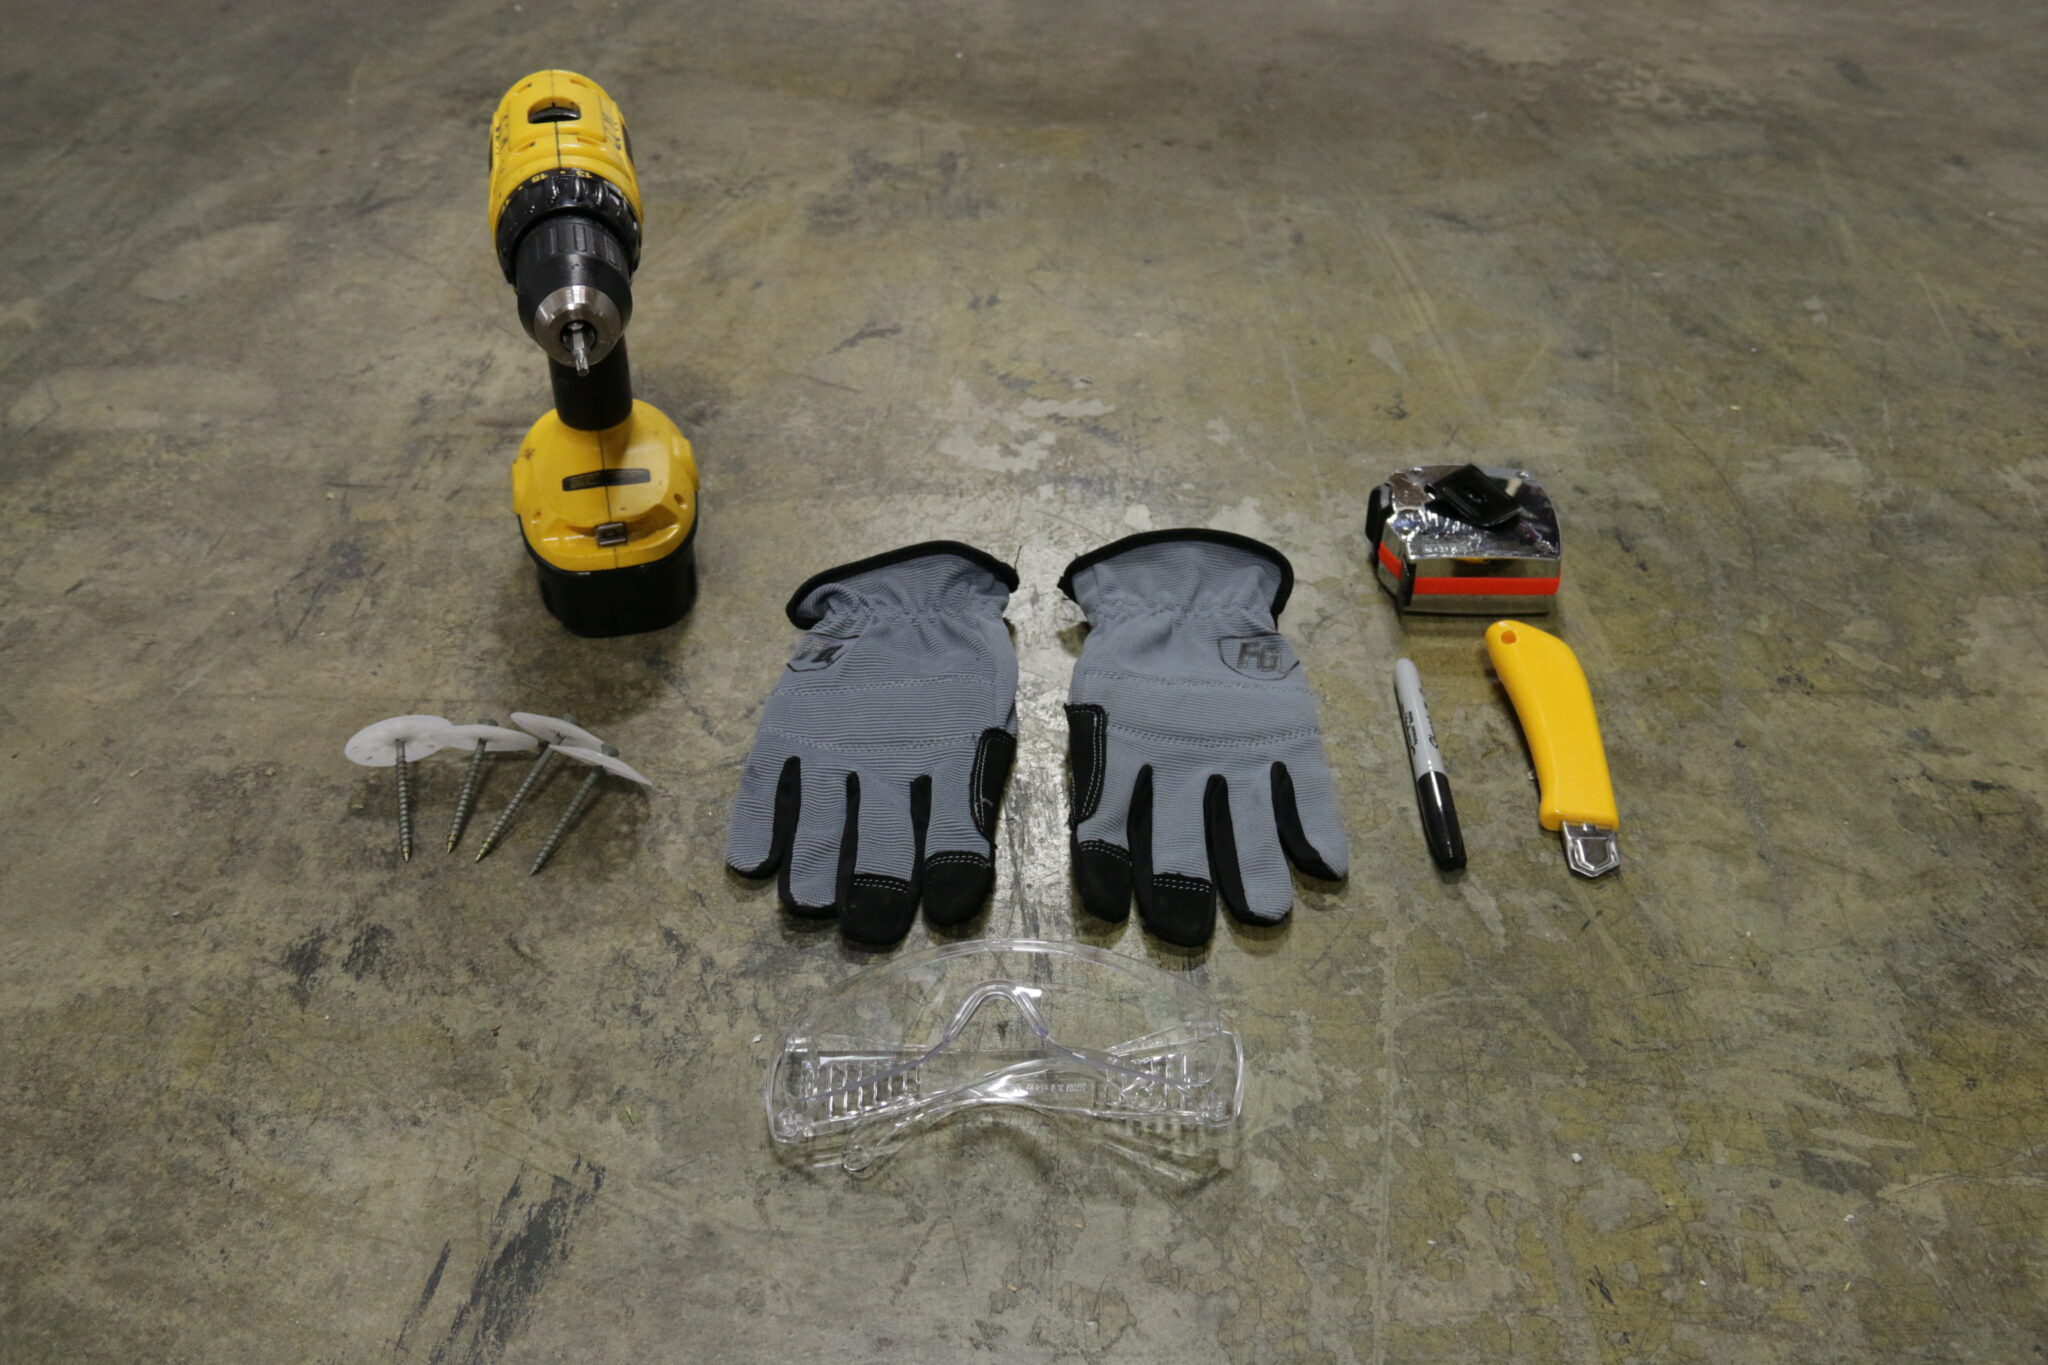
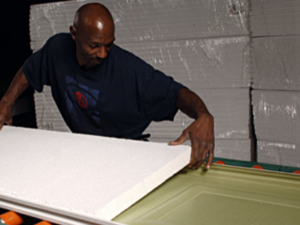
For DIY insulation, it’s important that the product is easy to customize. Whereas other insulation types can require advanced equipment or can be rendered useless if handled incorrectly, EPS rigid foam can be cut with a utility knife, insulation knife or any of a number of household tools. It can be installed with compatible adhesives and screws.
Because it doesn’t require specialized knowledge or tools, rigid foam can be an excellent choice for DIY insulation projects.
Q. How do I seal joints in rigid insulation?
Homeowners can seal the joints between EPS insulation panels with sealant tape or compatible adhesives. This can be done for single- or multilayered applications.
For projects that use multiple layers of EPS panels, it is recommended that homeowners adjust each layer of foam insulation so their joints do not align. Doing this helps mitigate thermal bridging to maximize their insulative properties.
What finish materials can go over EPS insulation?
Rigid insulation panels can be installed under several finishing materials. For interior applications, the most common finishing material is drywall, but homeowners can install EPS insulation under wood, mortar, vinyl siding and more.
DIY insulation that is simple and practical
Shoring up common residential energy drains can be effortless with EPS rigid foam panels. Easy to cut and install, these panels sideline the need for specialized equipment and knowledge. And not only does EPS offer the highest R-value per dollar, but the material’s R-values are stable throughout its life, making it a cost-effective and reliable way to bolster a home’s insulation and take advantage of tax credits.
Check out Insulfoam Installation Videos for more DIY resources.